A standard turn gives every Operator three AP. Spend AP on movement, weapon attacks, Utilities, Abilities or an end-of-turn Overwatch cone. Successful hits build a shared Advantage pool—up to 10—which powers major abilities without consuming AP.
The three-AP turn
Your entire squad acts before the enemy. EA says Actions may be taken in any order, so there is no universal “move, then shoot” sequence. Movement costs more AP over longer distances; weapon AP costs vary, and some weapons can consume everything an Operator has left.
Range, line of sight, cover and the Shot Breakdown determine the real opportunity.
Move, attack, use a Utility or activate an Ability in the order the situation demands.
Keep cover, remove a threat, or use the last action to prepare an Overwatch lane.
This three-step sequence is an editorial planning framework, not an official rule or guaranteed best play. Its purpose is to stop the first action from consuming options you need later in the turn.
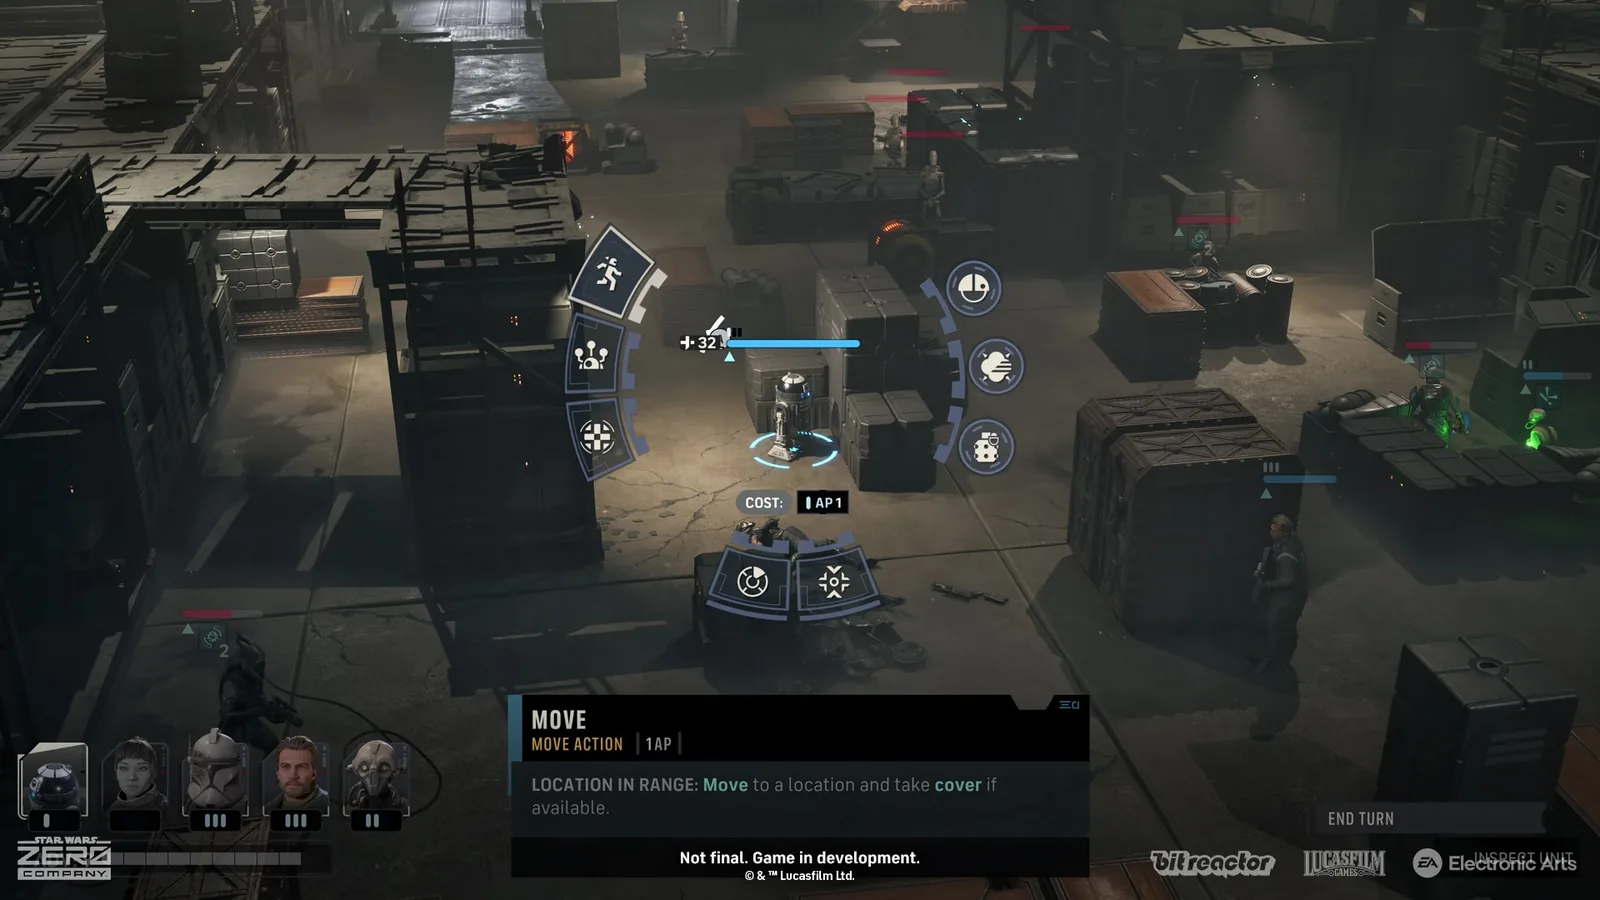
AP and Advantage are different budgets
| Resource | Who owns it | How it is used | Confirmed constraint |
|---|---|---|---|
| Action Points | Each Operator | Movement, weapon attacks, Utilities and many Abilities | Three per Operator each turn; costs vary |
| Advantage | The whole squad | Powerful abilities such as AP support, rocket strikes, accuracy boosts or taunts | Built by landing hits; capped at 10; spending it does not cost AP |
The strategic consequence is simple: an Operator may be out of AP while the squad still has options. Conversely, spending Advantage on the first attractive ability can remove a rescue or finisher from someone acting later.
Overwatch is a commitment, not a spare shot
Overwatch projects an adjustable cone and may fire when an enemy moves through it or acts inside it. A moving target hit by Overwatch may have its movement interrupted. EA also notes that the number of enemies an Operator can fire on depends on the AP invested, while hit chance changes with cone length.
If the cone is placed but no shot occurs, use the dedicated Overwatch not triggering checklist. That page owns troubleshooting; this guide owns the broad combat rule.
Cover improves odds; it does not freeze the map
Partial cover makes an Operator harder to hit, and full cover improves that protection. Flanking and high ground can improve the chance to hit an enemy. Some cover can be destroyed, so a safe position can become exposed as the fight changes.
A practical reading order is: line of sight → cover state → hit chance → what remains after the shot. The game’s Shot Breakdown panel is the authority for the displayed attack, not a generic genre assumption.
Downed, Injured, Rallied—and eventually lost
When an Operator reaches zero Health, they become Downed and receive an Injury. A Downed Operator cannot act, but another ally can Rally them back into the mission. Injuries reduce combat effectiveness and carry beyond the immediate encounter until managed at the Den.
Hawks is a special case in required story missions. In EA’s official community Q&A, lead designer James Brawley says Hawks’ death produces an automatic mission failure and the mission must be restarted.
For campaign settings, Medbay treatment, and the full three-Injury threshold, continue to the Injuries and permadeath owner guide.
A safe first-mission checklist
- Inspect the target and Shot Breakdown before moving; the current position may already have the better line.
- Identify which Operator needs to act last. Shared Advantage can change that order.
- Use cover as a current condition, not a permanent guarantee.
- Place Overwatch only after the Operator’s other work is complete.
- Treat every Down as a campaign cost, not merely a temporary knockout.
These are conservative editorial deductions from confirmed mechanics. They are not a universal difficulty guide, enemy priority list, or optimized build.
Sources and version note
- EA Help — Turn-based tactics basics ↗ — launch-build Overwatch, Downed, Rally, Injury, and permadeath rules.
- EA — Lead Zero Company To Victory on August 27 ↗ — primary combat and Den systems source.
- EA — Answering the Internet’s Biggest Questions ↗ — Hawks mission-failure clarification.
Evidence boundary: launch-build rules were rechecked August 29, 2026 against EA Help. The planning framework and checklist are editorial deductions; no tier or optimal-build claim is made.